I recently got in touch with the Microsoft Secure Code Analysis team as part of my deeper research on DevSecOps practices, and I was astounded by how easy and effective it is to integrate a decent baseline of Continuous Assurance into any pipeline.
If you want to give it a go send them an email, they have a two weeks trial you can leverage to evaluate the solution. I strongly encourage you to do so as it is so easy to get it into your existing pipelines!
Once you get access to the extension it gets really straightforward to implement - you add the extension to your Azure DevOps Services instance and you are good to go. Unfortunately it does not work on-premise.
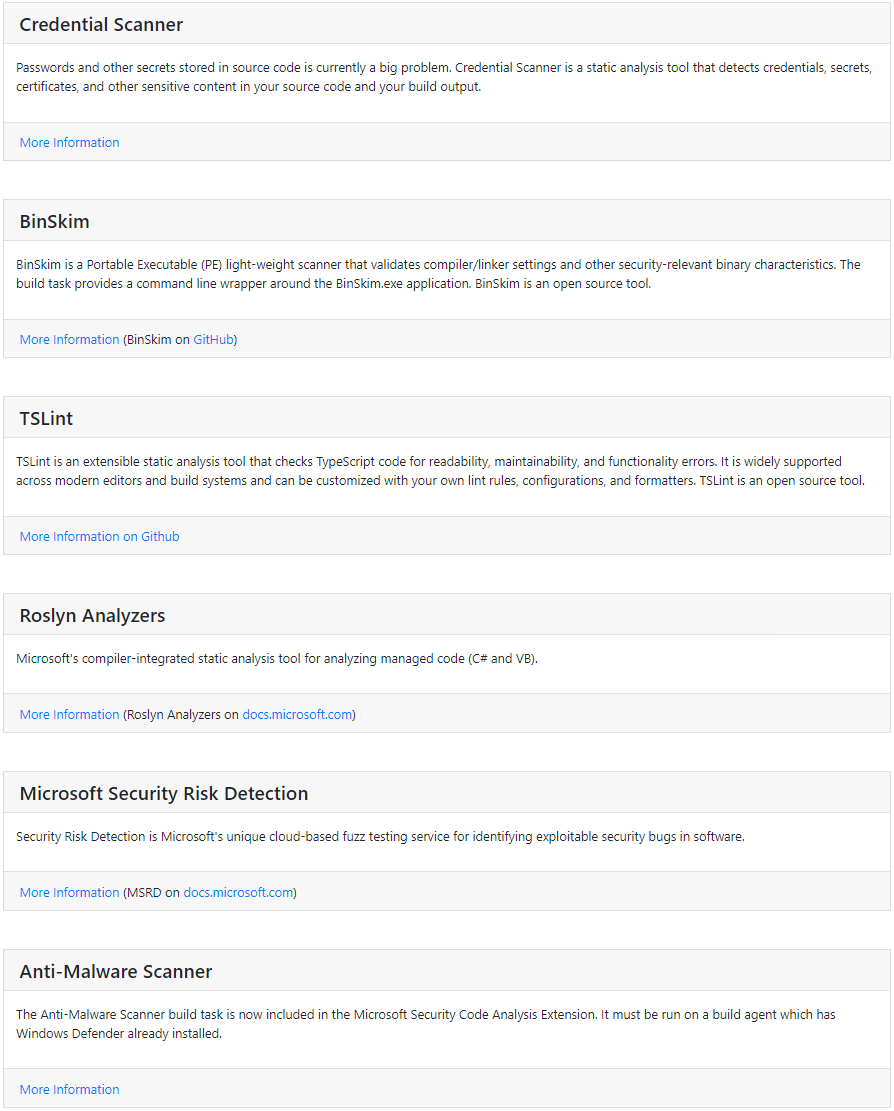
These are the tools you can add - with the exception of the Microsoft Security Risk Detection (which requires an account on the MSRD service) everything else is a simple task in the pipeline:

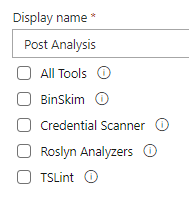
Now, a few tips on this: if you want to have full status integration with the pipeline you need to add that Post Analysis task. The tools are designed to use in a non-obtrusive manner, but it is my personal recommendation you start adding that as a success condition. You can even decide which tool to independently use as a success condition:
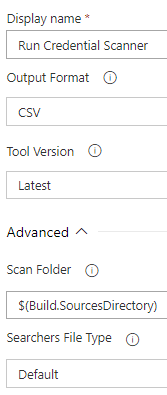
Let’s take the Credential Scanner as a starting point. It is essential. As a rule of thumb, if you can, you should always have a CredScan in your CI builds. It’s one of these things you should never skip IMHO… It cannot be any simpler to run. Choose an Output Format and point it at any folder you like - usually the source code directory will do.
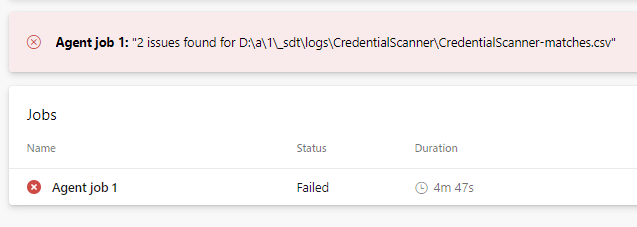
If credentials are in your source code (the horror!) the build will eventually fail - and if you upload your output file to a drop folder you will also be able to see where are these!

This is just a taster, in the coming posts we will look at more tools and at a few integration strategies.